Laser Cut Stenciling for SMT PCB DIY Solder Pasting
Through-Hole soldering is fast, fun and easy. The parts you populate your PCB’s with are the very same ones you can pull from your breadboard once your project is finished, and you are ready to make a permanent version. What if the components end up taking up too much space for the size of your p...
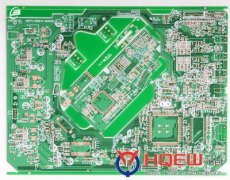
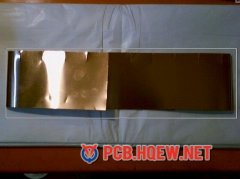
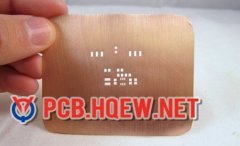
Polyimide PCB Solder Paste Stencil
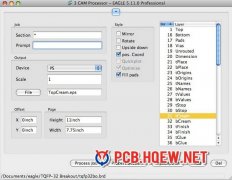
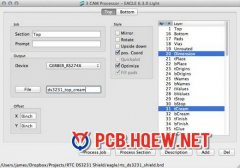
If you're doing a stencil for both sides, you're going to have to create two stencils. These instructions show how to generate a GERBER file for both the top and bottom. If you only need one side, you can stop at #5. If you are using EAGLE, I have created a CAM job file and included manual instruc...
Making Stencils for Solder Paste at Home
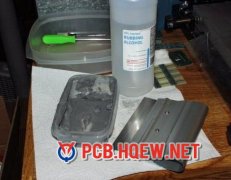
Step 1: Before we begin The method here is based on how I do circuit board etching -- which is likely very different from how you might do it. I've been etching circuit boards for a few years now and how I do it has changed quite a bit over that time as I find new tools & approaches. Almost any stan...
Solder Paste Stenciling
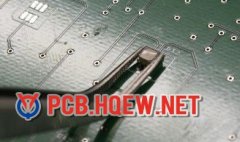
Swipe #3 - finally, we swipe with a more vertical hold on the squeegee removing most of the paste remaining on the stencil - while leaving paste in the apertures filled up to the thickness of the stencil. The stencil is nearly clean and a quick inspection shows that all the apertures are filled (I di...
DIY Process
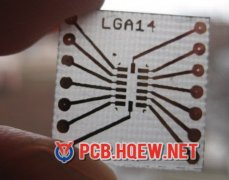
Sometimes you need to use a device and it's only available in surface mount form. In this article I describe an experiment that I conducted in order to create a DIP adapter for an LGA-14 SMT component We started by creating the design of the breakout board PCB Next I printed it on a piece of tonn...
Manufacturing Process
Step 1: Preparing the PCB Check to be sure the pad size of the PCB lines up with the pins on the SMD 2. Clean the PCB of any dust or debris. 3. Turn the soldering iron on now, and set the temperature between 600-700 degrees. Warning: When heated to these temperatures, you will be burned if you to...
Simple PCB Surface Mount Method
Soldering surface mount components isn’t difficult, but it will require a good eye, a steady hand and a soldering iron with a small and clean tip. In a proper joint, you want the solder to adhere to both the PCB pad and the component lead rather than having the solder ball up on the end of the comp...

Surface Mount Technology Introduction
One effect of the growing complexity of electronic systems has been the need for greater packing densities in printed circuit assemblies. Conventional PCB assemblies that use leaded components inserted into through holes have certain limitations in terms of packing density. These limitations are (1) ...
Normal Printed Circuit Board
Electronic circuits in school and in industry are normally produced through the use of PCBs (Printed Circuit Boards). The boards are made from glass reinforced plastic with copper tracks in the place of wires. Components are fitted to the boards by drilling holes through the board. The copper tracks ...
Prototype Without Using Printed Circuit Boards
Step 1: What You'll Need In addition to the perfboard and a soldering iron, you'll need some fairly common tools and supplies: Kynar wire: This is an insulated 30-gauge single strand wire. It's a rather thin wire which is useful for low current and low voltage digital circuit connections. I use thr...